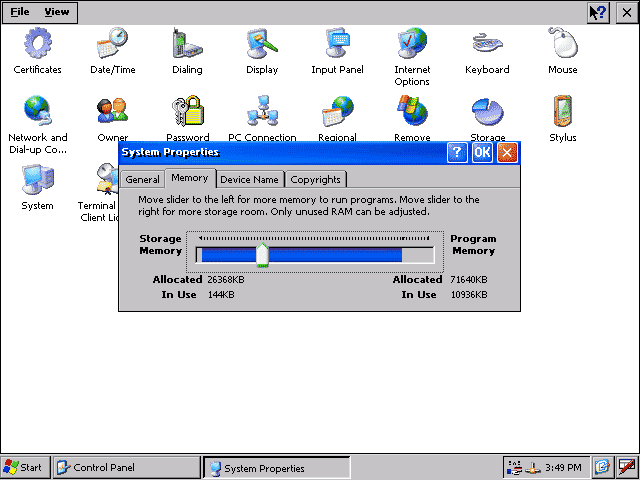
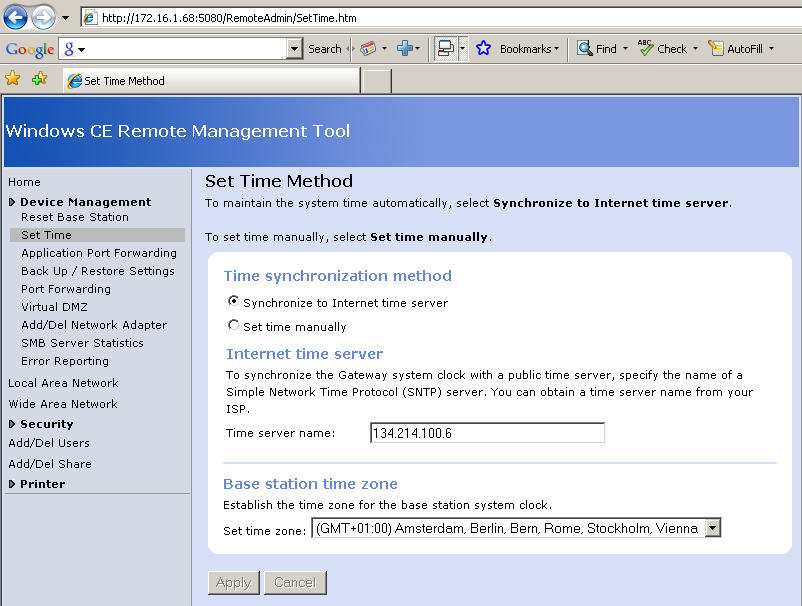
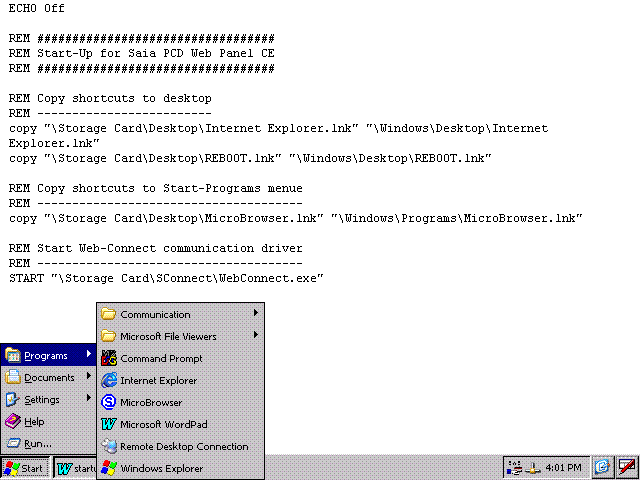
Beside of the possibility of configuring a Windows CE based Web Panel (PCD7.D5xxx), it is also possible accessing the "SysAdmin" Web Interface of the panel. The only prerequisite for accessing this interface is an established IP connection to the panel.
Background
Each Windows CE based Web Panel comes with an activated web server which is listening at Port 80. There are some preconfigured web sites running on the panel which allow access the panel via a web interface. This is a very convenient way to configure a Web Panel with nothing else than a network connection to the panel and a PC with a browser on it. Because there are no manual settings to do on the panel’s side, it’s perfect for remotely accessing a panel via long distances, where nobody is nearby to operate the panel.
Administering a Web Panel with SysAdmin
One of the included service web sites is the "SysAdmin" site. It gives you access to the following resources of the panel:
- System information
- Process management
- File system
- Registry
Establishing a connection to SysAdmin
Please make sure that you have installed the latest os image version on the web panel. This function is available since image version $1.0.15.0 (image file: eWin_CE5.0_cf64_D5xxxTX_$1.0.15.0.esy). The web server interface listens on the port 5080. This has to be taken into cosideration for the URL and eventually installed firewalls.
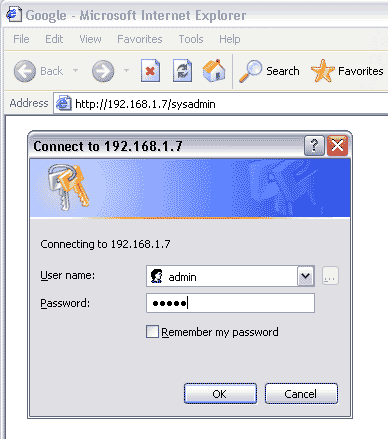
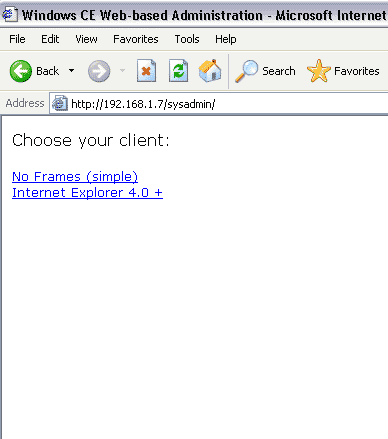
Open with a browser the SysAdmin web page of the Web Panel; e.g. let’s say your panel has the IP 192.168.1.7, then the URL is http://192.168.1.7:5080/sysadmin; (note the ":5080" behind the IP address!). The SysAdmin web site is password protected. A window opens and you have to type-in a user name and a password. By default the user name is “admin” and the password is “admin” too (without quotes). There are two versions of the SysAdmin web pages available: a simple one and one using frames and hierarchical trees. If you are using Microsoft Internet Explorer (recommended), choose the appropriate link (as of this writing, Firefox only supports the simple version).
Administering the Web Panel
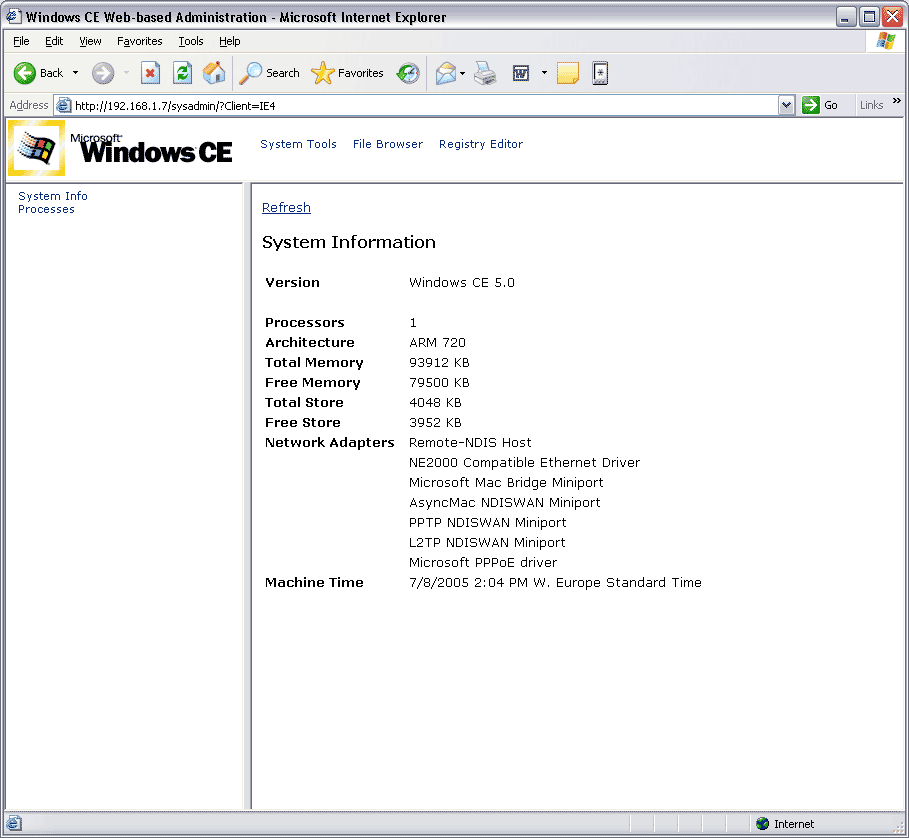
System Information
Choose "System Tools" in the page header and "System Info" from the left pane.
Shows information about the panel like processor, memory, communication adapters, etc.
Process Management
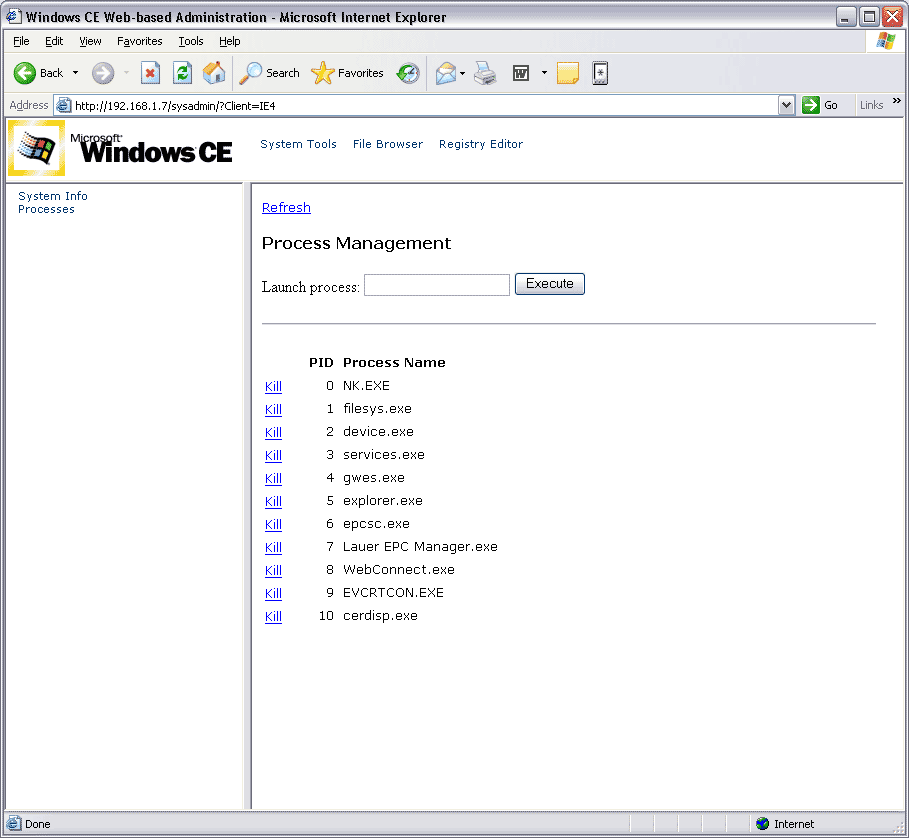
Choose "System Tools" in the page header and "Processes" from the left pane.
Shows the actual processes and applications, running on the panel and allows control.
With the "Kill" link you can terminate execution of a process or application. You can start an application. Type the complete path to the program you want to start into the "Launch process" field. Start the application clicking on the "Execute" button.
Remark: If the path contains a blank character (like "\Storage Card") you have to place the complete path within quotes (").
File System
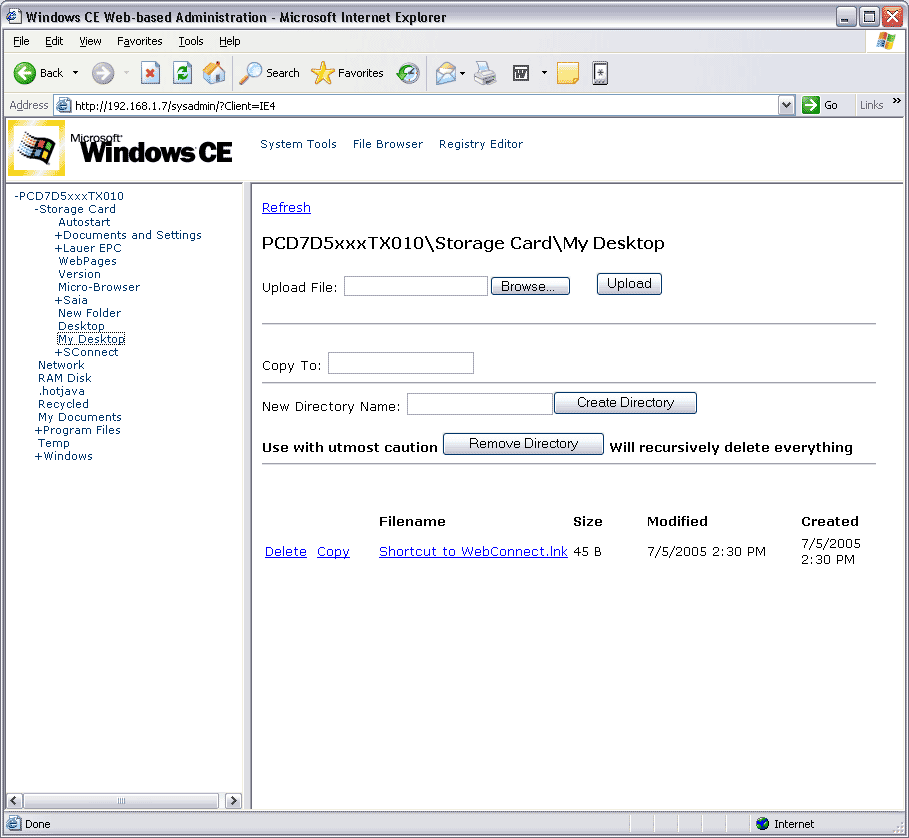
Choose "File Browser" from the page header.
Gives access to the complete file system of the panel.
In the left pane, you can select the folder within a hierarchical tree. In the right pane you can copy, delete and upload files and folders.
Registry
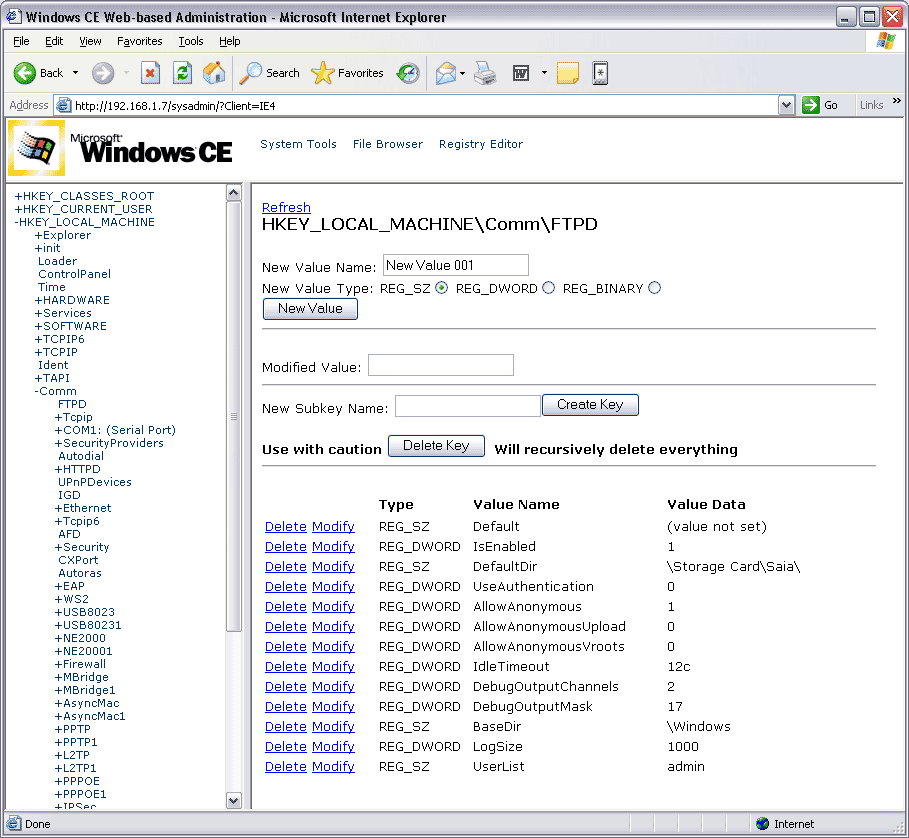
Choose "Registry Editor" from the page header.
Shows the registry of the panel and allows to modify it. Navigate in the the panel's registry in the left pane. You can create, modify and delete registry values and keys.
Caution: Changing registry settings can lead to panel's malfunction or loss of communication and could require overwriting the operating system image. Be aware what you are doing!
